Create and Run a Project
Install Templates
Before starting, ensure that you have installed the Avalonia templates:
dotnet new install Avalonia.Templates
Create the Project
To get started, we're going to use the simplest Avalonia template: Avalonia Application (or avalonia.app in the CLI).
- Comand Line
- Rider
- Visual Studio
Run the command:
dotnet new avalonia.app -o GetStartedApp
This will create a new folder called GetStartedApp containing the new project.
- On the Rider startup screen, select New Solution
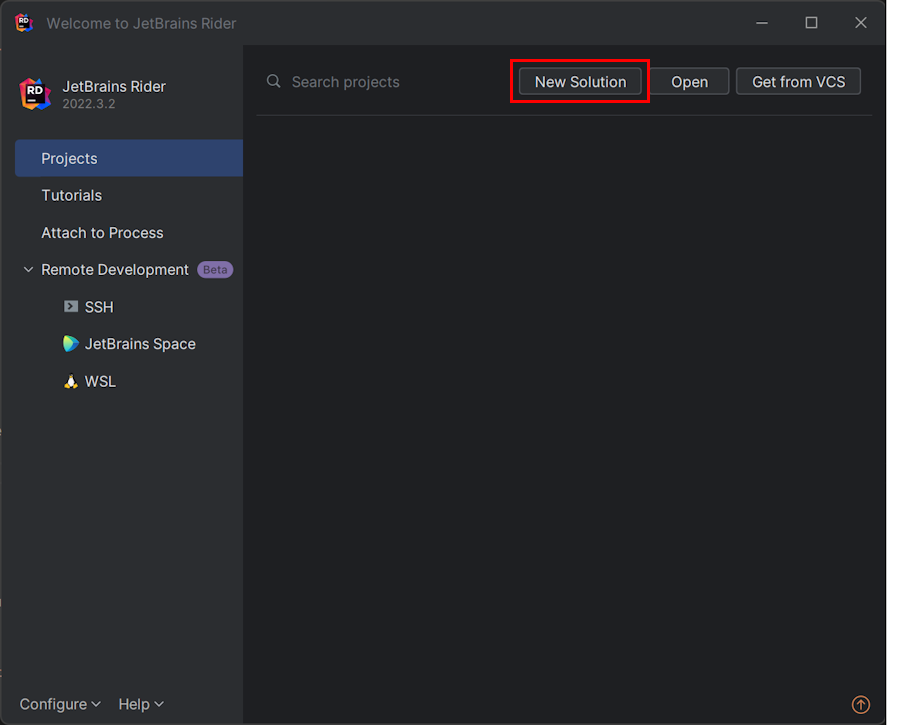
- In the sidebar, scroll down and select Avalonia App
- Type
GetStartedAppin the Solution Name field - Click Create
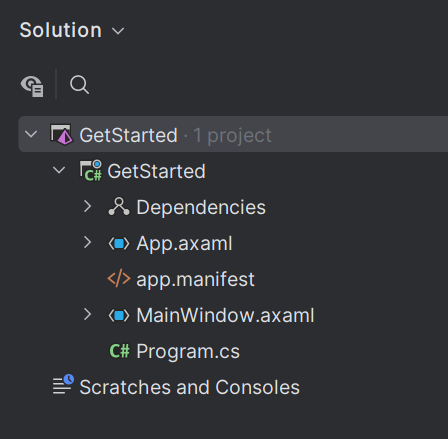
The template will create a new solution and project.
- In Visual Studio, click Create a new project.
- Type
Avaloniain the search box. - Click Avalonia Application then click Next.
 (1) (1).png)
- Name the project
GetStartedApp, and click Create.
The template will create a new solution and project.
 (1).png)
Run the Project
We're now ready to run the project!
- Comand Line
- Rider
- Visual Studio
Go into the `GetStartedApp` directory and run:
dotnet run
Press the Run button in the Rider toolbar:

- In Visual Studio, click Create a new project.
- Type
Avaloniain the search box. - Click Avalonia Application then click Next.
- Name the project
GetStartedApp, and click Create.
The template will create a new solution and project.
You should now be running your first Avalonia application!